


Find the largest files on your computer to reclaim disk space fast. Sort files from largest to smallest and locate big files on a drive, inside a folder and its subfolders, or an entire network.
- Find Largest Files on Computer, HDD (SSD), Folder, or Network
- Search Large Files in Windows Explorer
- Find Large Files in PowerShell
- Find Large Files Using the Native Windows Disk Usage Analyzer
- Eliminate Large Duplicate Files
Many new laptops ship with small SSD or eMMC drives to cut cost and weight – some as low as 32-256GB – so it’s easy to run out of space fast. Below are five ways to find your largest files and reclaim that space. If you want to find the largest folders instead, see that guide.
Find the Largest Files on a Computer, HDD (SSD), Folder, or Network
This is the fastest and most versatile method, and it requires installing one free tool:
Download: Folder Size Free Disk Space Analyzer
(a portable version is also available if you’d rather not install anything).
- Start the tool, select the drive you want to analyze, and press “Scan Selected Drive” (the button with the green arrow). You can also use “Scan folder…” or “Scan multiple locations…”
- Select the “Largest files” report from the toolbar.
- Click the drive or folder you want to inspect in the tree view on the left.
- The largest files in that location appear instantly in the panel on the right.
- Review the list and delete what you don’t need.
The Largest Files report lists the top 100 largest files in the selected folder and all its subfolders, with a path column showing exactly where each one lives. By default the tool shows a “Files and folders” report similar to Windows Explorer; switch to “Largest files” from the arrow next to the active report to see this view instead. Selecting a different folder on the left updates the report instantly – no rescan needed.
Search Large Files in Windows Explorer
You can find large files in Windows File Explorer without installing anything extra.
- Open File Explorer.
- Select “This PC” to search your whole computer, or open a specific drive or folder to narrow the search.
- Type size: in the search box.
- Choose a size range – Empty, Tiny, Small, Medium, Large, Huge, or Gigantic. Start with “Gigantic” to find your largest files first. The search may take a while depending on drive size and speed.
- Click “Change View” in the top-right and select “Details.”
- Click the Size column to sort files from largest to smallest.
Review the list and delete what you don’t need – just be careful not to remove something important. If you’re unsure what a file is, search for its name before deleting it. Safe candidates are usually your own media (photos, videos, music, old documents) along with temp and log files (typically .tmp, .log, .$$$) and old installer .exe files.
The size-range approach works, but it’s clunky – you have to search “Gigantic,” clear it, then search “Huge,” then “Large,” and so on. Folder Size (above) skips that entirely by listing everything sorted by size in one pass.
Find Large Files in PowerShell
- Open PowerShell from the Start menu.
- Navigate to the folder you want to search: CD c:\your_folder
- Run: Get-ChildItem -re -in * | ?{ -not $_.PSIsContainer } | sort Length -descending | select -first 10
This filters out folders, sorts the remaining files by size (largest first), and shows the top 10. For a shorter version: gci -r | sort Length -desc | select fullname -f 10
See Microsoft’s Get-ChildItem documentation for the full list of parameters.
PowerShell is powerful but unforgiving – a mistyped command can delete the wrong thing with no confirmation prompt. Only use it if you’re comfortable with basic scripting, and double-check any file before removing it.
Find Large Files Using the Native Windows Disk Usage Analyzer
- Press the Windows key and type “Disk Usage Analyzer,” or use Microsoft’s built-in Storage Sense feature under Settings > System > Storage.
- Select the drive you want to analyze – the tool scans it automatically.
- Look for a section labeled “Large Files” or “Large or unused files” and expand it for details.

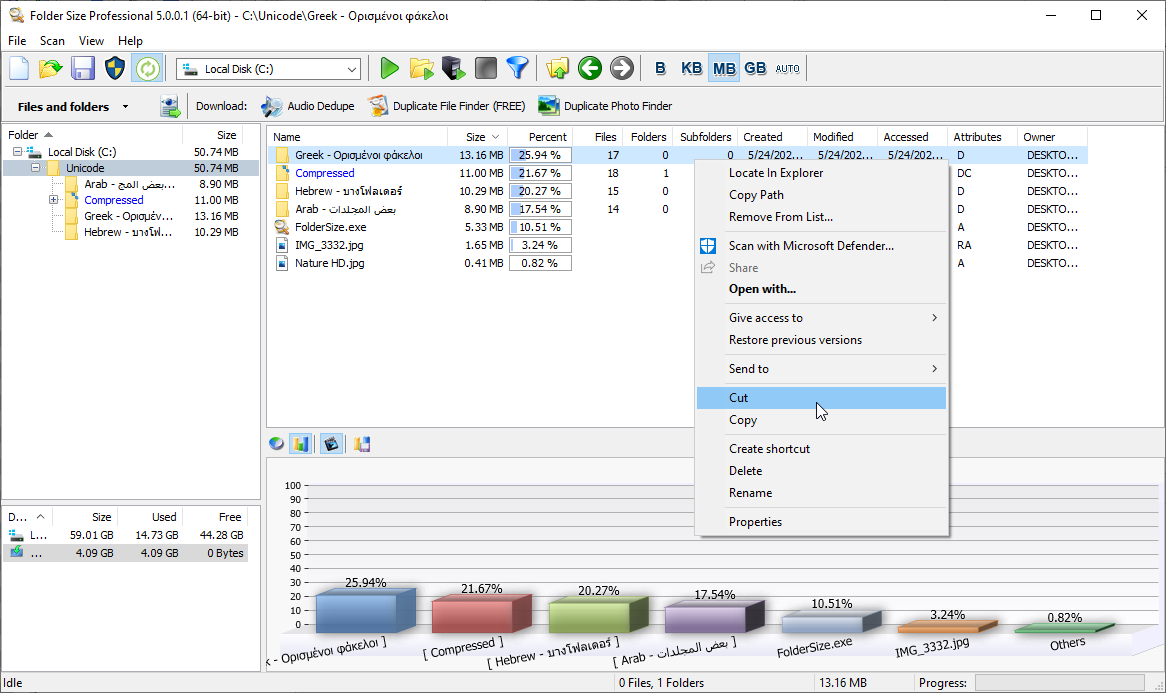
From there, sort by size, check file names and locations, and right-click any file to delete, cut, copy, or move it. It’s a solid built-in option for a quick check, though Folder Size gives a more complete, visual breakdown if you’re doing a serious cleanup.
Eliminate Large Duplicate Files
Once you’ve cleared out oversized files, duplicates are usually the next biggest space drain – and photos, videos, and audio files are large enough that even a handful of duplicates adds up fast. For general files, Free Duplicate Finder catches copies even across different names and locations. For photo libraries, ordinary duplicate finders miss the same image saved in a different format or resized slightly – Visual Similarity Duplicate Image Finder is built specifically to catch those. For music, Audio Dedupe compares the actual audio rather than just the file format. See our full guides on finding duplicate files, duplicate photo cleaners, and finding duplicate MP3s for more detail on each.
Which Method Should You Use?
File Explorer’s size search works fine for a one-off check, and PowerShell is a fast option if you’re already comfortable with the command line. But for a genuine cleanup – especially on a small SSD where every gigabyte matters – Folder Size is the most direct route: one scan, one sorted list of your largest files, no repeated searches by size range. Pair it with a dedicated duplicate finder afterward, since duplicates are often the largest recoverable chunk of wasted space once the obvious oversized files are gone.
Pingback: Find Largest Folders in Windows 11, 10, 8, 7
Great instructions and recommendations. Both free tools – Folder Size and Duplicate File Finder work perfectly. Thank you for recommending.
Love your blog. Always useful tools!
Thank you very much for this comprehensive article. Folder Size is an excellent tool.
Very detailed article. I tried both methods, but finding largest files using Windows Explorer is much harder that using the free Folder Size app. That tool is so good in visualizing the disk space. I put it in my favorites list.
Oh thank you, thank you!!!!!
Freed up tons of wasted disk space!
Downloaded this after my work laptop kept warning me about low disk space every other day. The scan didn’t take long even on a drive I hadn’t cleaned in years, and being able to jump straight to deleting stuff from the results list instead of digging through folders manually saved me a good chunk of time.
Mostly just old project backups and a couple of huge log files I never needed. Glad I found it, would’ve kept ignoring the problem otherwise.
Been using this for a while now to clean up an old laptop that was always running low on space. Scans are quick even on a drive with a ton of small files, which surprised me since some other tools I tried before just sat there spinning for ages. Sorted by size and found a bunch of old ISO files and backups I’d totally forgotten about.
It’s become my default whenever a drive starts filling up. Does what it says without much fuss.
I started using Folder Size a few months back after my C drive kept filling up and I had no idea why. Turns out I had like 40GB of old video export files buried in a random Downloads subfolder I forgot existed. The chart view made it super obvious once I saw it – just a huge chunk taking up half the pie.
Sorting by size and filtering by file type saved me a ton of clicking around manually. I ended up freeing close to 60GB total between that and some old game installers I didn’t need anymore. Being able to delete straight from the app instead of hunting the file down in Explorer afterward is nice too.
Would recommend it if your drive’s mysteriously full and you can’t figure out where the space went.
Thank you for sharing this great free tool!
Not gonna lie, I mostly downloaded this for the pie chart view because I’m a visual person and just staring at a list of file paths doesn’t tell me much. Actually really useful though – could see right away that one folder of old phone backups was eating way more space than I realized.
Simple thing but it made cleaning up way less tedious than doing it through File Explorer.