
Duplicate Image Finder Tutorials
Find Similar Images and Get Rid of Duplicate Photos Easily

Please follow this short tutorial to learn the basics of the tool.
You can find detailed information about every feature in the application by pressing F1 on your keyboard. The context-sensitive help will display the help section for the window that is currently displayed.
Do not forget to check also the blog area as it contains a lot of information, tutorials and examples and provides a search option for easier navigation: www.mindgems.com/article/
Duplicate Image Finder Video Tutorial
Do not forget to like this video if you want to see more useful content!
Steps To Find Duplicate Images
Start the program. The main window will be displayed.
Find Duplicate Images

This is a simple tutorial, but if you have difficulties, questions, or doubts you should read: All About Duplicate Cleaner in Windows 11, 10, 8, 7
That article will let you learn all the basics of our duplicate finder tools and let you learn how to confidently get rid of duplicates.
1) Add the folder(s) that will be scanned using "Add Folder" button (1) or drag and drop them inside the application from Windows Explorer.
Note: Folders can be excluded from "Auto-check" and "Self scan" using the check boxes in front of the folder name. Reference the help file for more details.
2) If you want to find all duplicates then you do not need to alter the check boxes in front of the folder names. Check the first column in the folders list for the folders that you want to be excluded from the Auto-check functionality (2). Check the second column if you want to disable a folder from scanning for duplicates inside itself. (The second option is available only in Pro and Corporate versions of the program). Read more about these features here: How to exclude folders form auto-check.
3) Select "Visual Compare" method from the drop down list (3).
Note: "CRC32 Checksum" method does not scan images for visual similarity. Using this method only 100% binary equal images can be found. "File Size" method will find duplicates with equal file sizes.
4) Adjust the "Similarity" spin button to the desired value (4). The default similarity value is 95%. It is finely tweaked and produces the best results for common images.
Note:
The similarity value is used only if the selected method is "Visual Compare".
5) The "Cache" drop down list (5) is set to DEFAULT and you should not change that setting if you are a regular user. The cache system stores data for already scanned images and improves performance for consequent scans. The cache is extremely fast and compact.
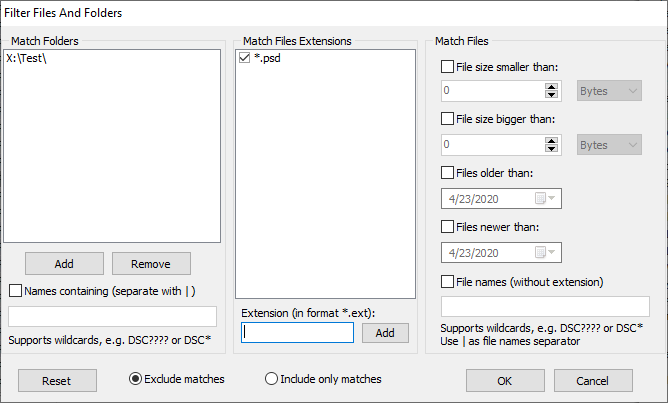
6) Before starting the scan process filtering can be applied based on various properties using the Filter tool button (6)
Filter Images
7) Press "Start Scan" button (7)
After the scan process is finished the results list will be displayed:
Duplicate Images Result
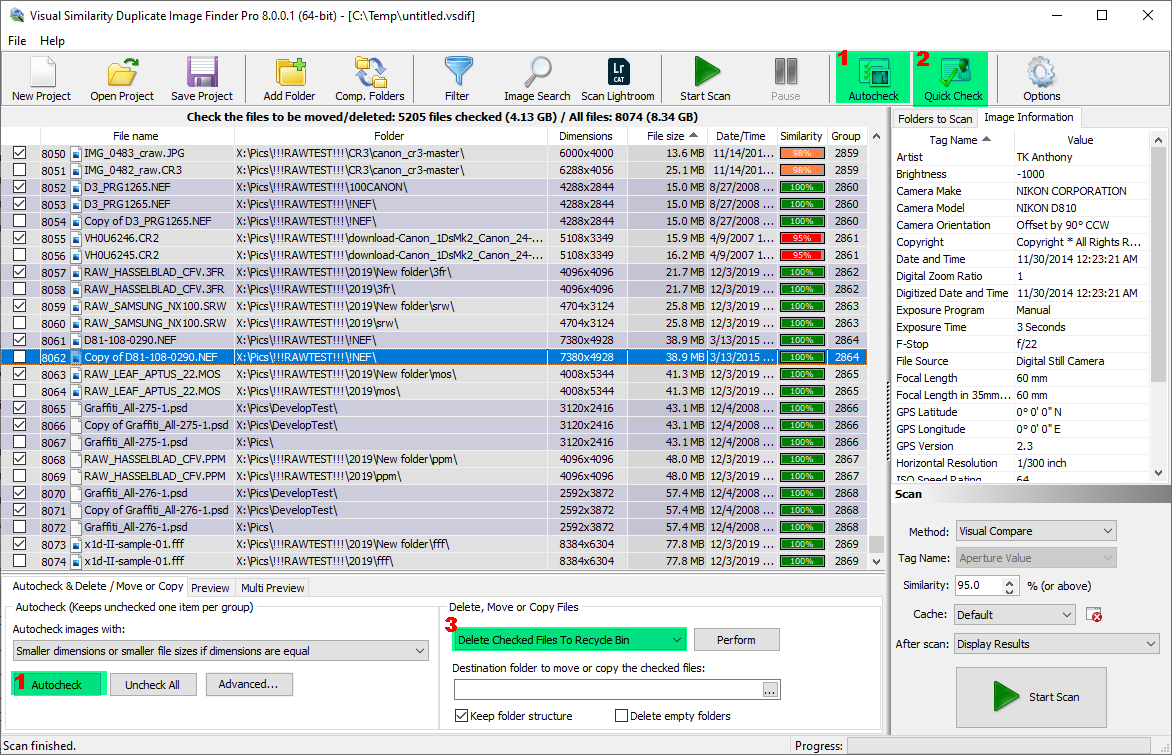
Duplicate image files are grouped together with alternating group colors. Depending on the "Auto Check" settings, the program can automatically check the smaller images in every duplicate group. If some files are un/checked manually, the "Auto Check " button (1) can be used to reset the selection.
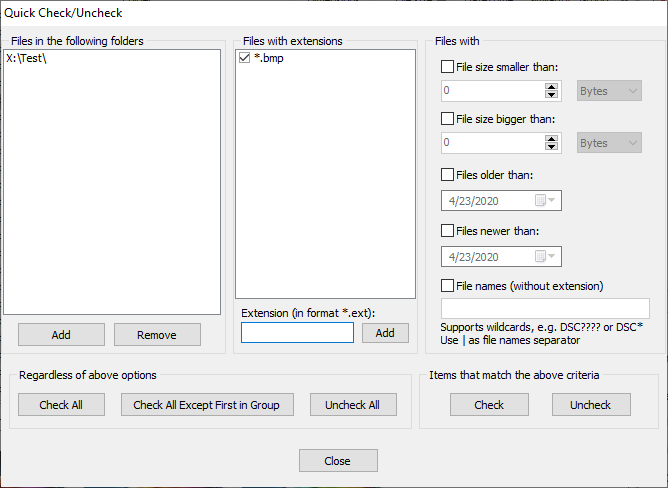
The "Quick Check" tool button (2) to check the images by various criteria.
Quick Check Duplicate Images
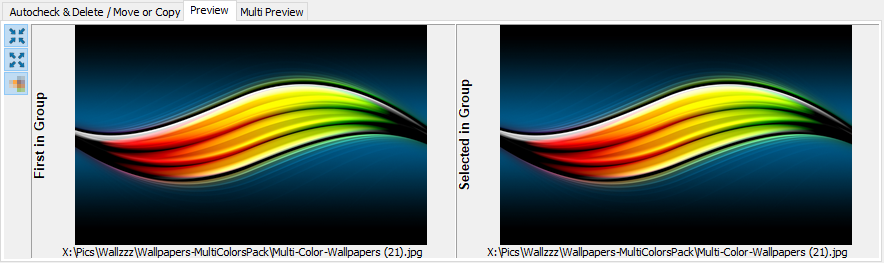
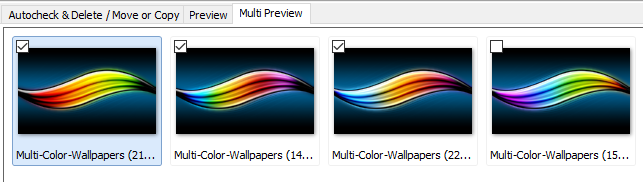
The "Preview" and "Multi Preview" panels can be used to review and compare the results:
Duplicate Images Preview
Duplicate Images Multi Preview
After checking the files to be moved, copied or deleted (3) using the "Perform" button will execute the selected action.
Checked files can be deleted to the Recycle Bin by selecting the "Delete checked files to Recycle Bin" option.
Checked files can be moved/copied to a custom folder by selecting "Move checked files"/"Copy checked files" options and specifying a destination folder.
Source folder structure will be recreated in the target folder if "Keep folder structure" option is checked, otherwise all duplicates will be moved to the root of the destination folder.
The duplicates list supports multiple selection. Multiple files can be selected using the mouse and Ctrl/Shift keys. Note the difference between checked and selected files.
The selected files can be removed from the list using Delete key and deleted from the hard drive using the Shift+Delete key.