

Looking for the best way to perform an Image Search? Whether you want to track down similar photos on your computer or discover where an image appears online, this guide has you covered. You’ll learn step-by-step methods, professional tools, and expert tips to find, organize, and manage your images with precision – let’s dive in!
Table of Contents
- Understanding Image Search
- Manual Local Image Search Using Windows Tools
- Professional Local Image Search: Visual Similarity Duplicate Image Finder
- Online Image Search: Finding Images on the Web
- Organizing Photos for Efficient Image Search
- Advanced Image Search Techniques
- Combining Online and Local Image Search
- Professional Uses of Photo Search
- Tips for Efficient Image Search Workflows
- Conclusion
Understanding Image Search
At its core, image search is the process of locating images based on visual content, metadata, or file attributes rather than just keywords. Unlike traditional search engines, which match words to content, image search tools analyze visual characteristics such as colors, patterns, shapes, and textures to detect similarities between images.
There are three primary types of image search:
- Reverse Image Search: Identifies the source of an image by uploading it or providing its URL.
- Duplicate Photo Search: Detects exact or near-exact copies within your own storage or online.
- Similarity Search: Finds visually similar images even if they have been resized, cropped, or edited.
Image search is valuable for:
- Protecting intellectual property and monitoring image usage online.
- Organizing personal and professional photo libraries.
- Finding higher resolution or alternative versions of an image.
- Research, educational projects, and creative work.
- Marketing analysis, competitor visual research, and content verification.
Manual Local Image Search Using Windows Tools
Local image search is essential for managing private collections and archives. Windows includes capable built-in tools that help you locate, filter, and review photos without installing extra software. Below you will find step-by-step methods using Windows File Explorer, the Photos app, and a simple PowerShell recipe for finding exact duplicates.
Windows File Explorer
File Explorer can search by filename, extension, size, date, dimensions, and EXIF metadata. It cannot detect visually similar photos with different filenames or formats, but with the right filters you can surface likely matches fast.
Before you start
- Open the folder that contains your images. If your photos span many folders, open the top-level folder that holds them all.
- Switch to Details view for powerful sorting. Click View -> Details.
- Turn on helpful panes:
- Preview pane to see the selected image at a glance: press Alt + P.
- Details pane to see EXIF and properties: press Alt + Shift + P.
- Add metadata columns: right-click any column header -> More… -> enable Dimensions, Date taken, Camera model, Tags, Rating, Bit depth as needed.
Quick search by type and date
- Click in the search box at the top right of File Explorer. The Search toolbar appears.
- Type an Advanced Query Syntax (AQS) filter. Examples:
kind:=picture– finds all images in the current folder and subfolders.ext:.jpg OR ext:.png– restrict to JPG and PNG.date: this month– limit by date modified.datetaken: 2024– limit by EXIF capture year.size:>5MB– find high resolution or large files.dimensions:>=4000x3000– filter by pixel size.
- Combine filters for precise results. Examples:
kind:=picture ext:.jpg datetaken: 2023 size:>3MBkind:=picture (ext:.jpg OR ext:.png) dimensions:>=3000x2000
- Sort results by Date taken or Size to cluster similar shots together.
Group and sort to spot near-duplicates
- Right-click inside the results area -> Group by -> choose Dimensions or Date taken.
- Within each group, click the Size column to sort ascending. Files that share the same pixel dimensions and similar sizes often indicate edits, re-exports, or near-duplicates.
- Use the Preview pane and arrow keys to flip through adjacent items and visually confirm similarities.
- If you need to compare two photos side by side, select both -> press Enter to open in the default viewer -> switch windows for a quick comparison.
Search by EXIF camera and lens metadata
- In the search box, use EXIF-aware filters:
camera: Nikonorcamera: Canonfocallength: 35mmaperture: f/1.8iso: 1600
- Combine with date or size to narrow further. Example:
kind:=picture camera: Sony datetaken: 2022 size:>2MB.
Tag and rate for faster future searches
- Right-click a photo -> Properties -> Details.
- Click next to Tags and add keywords like family, beach, client-name. Click OK.
- Later, search with
tag: beachor combine with other filters liketag: beach datetaken: 2023. - Use the Rating field to mark keepers, then search with
rating:>=4.
Save frequent searches
- After composing a useful query, click Search tab -> Save search.
- Give it a name like Large Instagram-ready Photos. Double-click the saved search next time to run it instantly.
Examples you can copy
kind:=picture ext:.jpg datetaken: last year size:>4MB– find last year’s high resolution JPGs.kind:=picture (ext:.jpg OR ext:.png) dimensions:>=3840x2160– locate 4K images or larger.tag: wedding datetaken: 2022– retrieve tagged wedding photos from 2022.kind:=picture date: this week– quickly review recent imports or edits.
Windows Photos App
The Photos app is good for browsing albums, dates, and quick lookups. It is simple and built into Windows, which makes it handy for a fast visual pass through folders. It does not detect duplicates or visual similarity, but it can help you review, cull, and do light edits.
Quick setup
- Open Photos from the Start menu.
- Go to Folders -> click Add a folder and select the top-level folder that contains your pictures.
- Wait for Photos to index the folder. You can start browsing immediately while indexing continues in the background.
Find and review images fast
- Use Albums and Collections to navigate by date.
- Click a photo to open it, then use the left and right arrows to move through a series quickly.
- Press Ctrl + + or use the zoom to check fine details before you keep or delete similar shots.
- Right-click a photo -> File info to view resolution, date, and basic EXIF.
Optional – People and simple grouping
Depending on your Windows version, Photos may offer People tagging that groups similar faces. If available in your build, you can turn it on in settings and label people for quicker lookups later. This is helpful for family libraries where you want to find all photos of a person across years.
PowerShell – Exact duplicate detection by file hash
When you need to find exact duplicates, hashing is reliable. The following built-in PowerShell command computes a cryptographic hash for each image, groups identical hashes, and lists sets with more than one file. This does not find visually similar images, but it is perfect for true duplicates like copies or exports with the same bytes.
Step-by-step
- Open the folder you want to scan in File Explorer.
- Click the address bar, type
powershell, and press Enter. PowerShell will open at this folder. - Paste this command and press Enter:
Get-ChildItem -Recurse -Include *.jpg,*.jpeg,*.png,*.gif,*.tif,*.bmp -File | Get-FileHash -Algorithm SHA256 | Group-Object Hash | Where-Object { $_.Count -gt 1 } | ForEach-Object { $_.Group | Select-Object Path, Length, LastWriteTime } - Review the output. Files listed together share the same hash – they are exact duplicates.
- Move duplicates you want to remove into a temporary folder. Delete only after a final visual check. Use the Recycle Bin for safety.
Tip – Export results to a CSV
If you want a spreadsheet of duplicates, add this at the end of the command:
| Export-Csv ".\duplicate-images.csv" -NoTypeInformationOpen the CSV in Excel and filter by Path or Length for easy reconciliation.
Practical workflows that work well
- First pass with File Explorer – filter by Dimensions and Size, group by Date taken, and visually compare adjacent files using the Preview pane.
- Second pass with PowerShell – find exact byte-for-byte duplicates and archive or delete them safely.
- Optional pass in Photos – do a quick, full-screen visual review of a shoot to mark keepers and rejects.
These manual methods keep you inside Windows tools and work best for small to medium libraries. If you need high accuracy, similarity matching, and scalability for hundreds of thousands or millions of images, switch to a dedicated solution in the next section.
Professional Local Image Search: Visual Similarity Duplicate Image Finder
For advanced, high-accuracy, and large-scale local image search, Visual Similarity Duplicate Image Finder is the top solution. VSDIF analyzes the visual content of images rather than relying on filenames or metadata, enabling detection of exact duplicates and visually similar images, even after resizing, cropping, or format changes.
Key Features of VSDIF
- High accuracy for detecting duplicates and visually similar images
- Scalable performance capable of scanning millions of images
- Advanced filtering and customizable similarity thresholds
- Batch processing across multiple folders or drives
- Professional reporting and export functions
- Safe: does not alter original image files or folders
Why VSDIF Outperforms Competitors
Unlike basic tools, VSDIF uses sophisticated algorithms to compare pixel patterns, color histograms, and image features. Competitors relying on filenames or basic metadata fail to detect rotated, cropped, or resized duplicates. VSDIF ensures high precision even with massive image libraries.
How to Search for Similar Images
Searching for similar images on your computer is straightforward with the Reverse Image Search feature in Visual Similarity Duplicate Image Finder (VSDIF). This functionality allows you to use one or more images as your search query and find visually similar photos quickly and accurately.

Image Search – Find Similar Photos by Sample
Step-by-Step Guide
- Open VSDIF and add the folder or folders you want to scan by clicking “Add Folder” or dragging them into the folder list. Multiple drives or network locations can be added for a complete search.
- Adjust the similarity threshold if needed to refine how closely matched results must be.
- Click the “Search” button to open the Search For Images dialog.
- Add one or more sample images that you want to use as a search query. These images will be compared against your entire library.
- Click “Search” again. VSDIF will analyze all the images in the selected folders, then display results grouped by similarity, along with a percentage match for each.
Why This Method Works
This type of image search – also known as reverse image search or content-based image retrieval (CBIR) – compares actual visual data such as pixel patterns and colors, rather than relying on filenames or metadata. This makes it possible to identify duplicates and similar images even if they are stored in different file formats, resized, rotated, or color adjusted.
Popular Use Cases
- Photo shoots: Start with a single wedding or portrait photo and instantly find all similar shots from the same session—even if metadata is missing.
- Recover edits: Locate cropped, resized, or re-saved versions of your original photo.
- Large archives: Manage thousands or even millions of images without spending hours browsing manually.
Pro Tip: Use Cache for Faster Results
VSDIF allows you to enable caching, which significantly speeds up future scans on the same folders. This is especially helpful for photographers and organizations with massive collections.
Real-World Example
Imagine you imported thousands of vacation shots but only remember one of them. Instead of scrolling endlessly, you can use that single photo as a sample. VSDIF quickly scans your folders, finds all similar and duplicate shots, and gives you precise results—helping you organize or clean your library in minutes instead of hours.
Online Image Search: Finding Images on the Web
Online image search has become one of the most powerful ways to explore visual content across the internet. Whether you want to track down the source of a photograph, identify an object, verify the authenticity of an image, or simply find higher-resolution versions, image search services make the task much easier. From professional researchers and photographers to casual users looking for memes or product photos, online image search provides endless possibilities.
In this section, we will explore the most popular services, highlight their unique strengths, and share practical tips for using them effectively. You will learn how to reverse search an image, discover visually similar photos, and even identify places, products, or faces that appear online. By mastering these tools, you can save time, verify content credibility, and enhance your personal or professional projects with accurate and high-quality images.
Google Images
Google Images is the most widely used image search engine and a powerful tool for discovering, verifying, and exploring visual content online. Users can perform searches using keywords, upload an image directly, or paste an image URL to find similar photos or trace the original source. Google Images leverages advanced AI-based algorithms to compare visual features, including shapes, colors, and patterns, which allows it to identify visually similar images even if they have been resized, cropped, or modified.
How to Search by Keywords
- Go to Google Images.
- Type relevant keywords describing your target image in the search bar.
- Press Enter to view results. Google will display thumbnails that match your keywords.
- Use the Tools button to refine your search:
- Size: Filter images by large, medium, or icon size.
- Color: Focus on black & white, transparent, or specific colors.
- Type: Filter by photo, clip art, line drawing, or animated GIF.
- Usage rights: Select images labeled for reuse or modification if needed.
How to Search by Image
- Open Google Images.
- Click the camera icon in the search bar to initiate a reverse image search.
- Choose one of the following options:
- Paste image URL: Copy the URL of an online image and paste it.
- Upload an image: Select an image file from your computer.
- Press Search by image. Google will analyze your image and return:
- Visually similar images from across the web.
- Web pages where the image appears.
- Information about objects, locations, or people in the image (when recognized).
Tips for Effective Google Image Search
- Use high-quality images as queries to improve matching accuracy.
- Combine reverse image search with keyword searches for more refined results.
- Explore the “Visually similar images” section to find different resolutions or alternative versions.
- Use the Tools filters after the search to narrow results by size, color, type, or usage rights.
- For research or verification purposes, check multiple similar images and associated web pages to confirm authenticity.
Example Scenario
Suppose you found an old photo but are unsure of its origin. By uploading the image to Google Images, you can quickly discover its original source, find higher-resolution copies, or see related images in the same context. This is particularly useful for journalists, bloggers, marketers, and photographers who need to verify images or trace their distribution online.
Google Lens
Google Lens is a powerful tool that extends image search functionality to mobile devices and integrates seamlessly with Google Photos and Chrome. With Google Lens, users can snap a photo or upload an image to instantly find visually similar images, identify objects, extract text, translate content, or explore related information in real time. Moreover, it leverages advanced AI and machine learning to recognize objects, landmarks, plants, animals, products, and more, making it a versatile companion for both personal and professional use.
How to Use Google Lens on Mobile
- First, install or open the Google Lens app, or access it through Google Photos or the Google Search app.
- Next, tap the Lens icon (camera icon) to activate the camera interface.
- Then, choose your input method:
- Snap a photo: Point your camera at an object, landmark, product, or text, and take a photo.
- Upload an existing image: Select an image from your gallery to analyze.
- After that, wait a few seconds while Google Lens processes the image.
- Finally, review the results, which may include:
- Visually similar images from across the web.
- Web pages where the object or image appears.
- Product listings with pricing and availability.
- Text extracted from signs, documents, or books.
- Translations for foreign languages directly in the app.
Use Google Lens in Google Photos
- First, open Google Photos on your mobile device.
- Then, select the image you want to analyze.
- Next, tap the Lens icon in the bottom toolbar.
- After that, wait as Lens identifies objects, people, text, or products in the image.
- Finally, explore the suggested actions, such as searching for similar images online, copying extracted text, or shopping for products.
How to Use Google Lens in Chrome on Desktop
- First, open the Chrome browser and right-click any image on a webpage.
- Next, select Search image with Google Lens.
- Then, Google Lens will open a sidebar showing visually similar images, related websites, and additional information.
- Moreover, you can zoom in on specific sections of the image using the crop tool to focus the search and improve results.
Google Image Search
Practical Examples
- Shopping: For example, snap a photo of a handbag in a store or online to instantly find where to buy it, compare prices, and check reviews.
- Text extraction: Similarly, capture a page from a book or a document to quickly extract text for notes, emails, or translations.
- Plant or animal identification: If you photograph a plant or pet, Lens can help you identify the species and provide related care information.
- Landmark recognition: Take a picture of a monument or building, and Lens will provide historical details and visitor information.
- Art and design: In addition, Lens can identify artists, paintings, or similar design styles from any uploaded image.
Tips for Accurate Results
- First, ensure the object is well-lit and clearly visible in the frame for the best recognition.
- Next, use the crop tool to focus on the relevant part of the image for more precise matching.
- Moreover, combine Lens searches with Google Images for a wider set of results.
- Finally, keep the app updated to benefit from the latest AI recognition improvements.
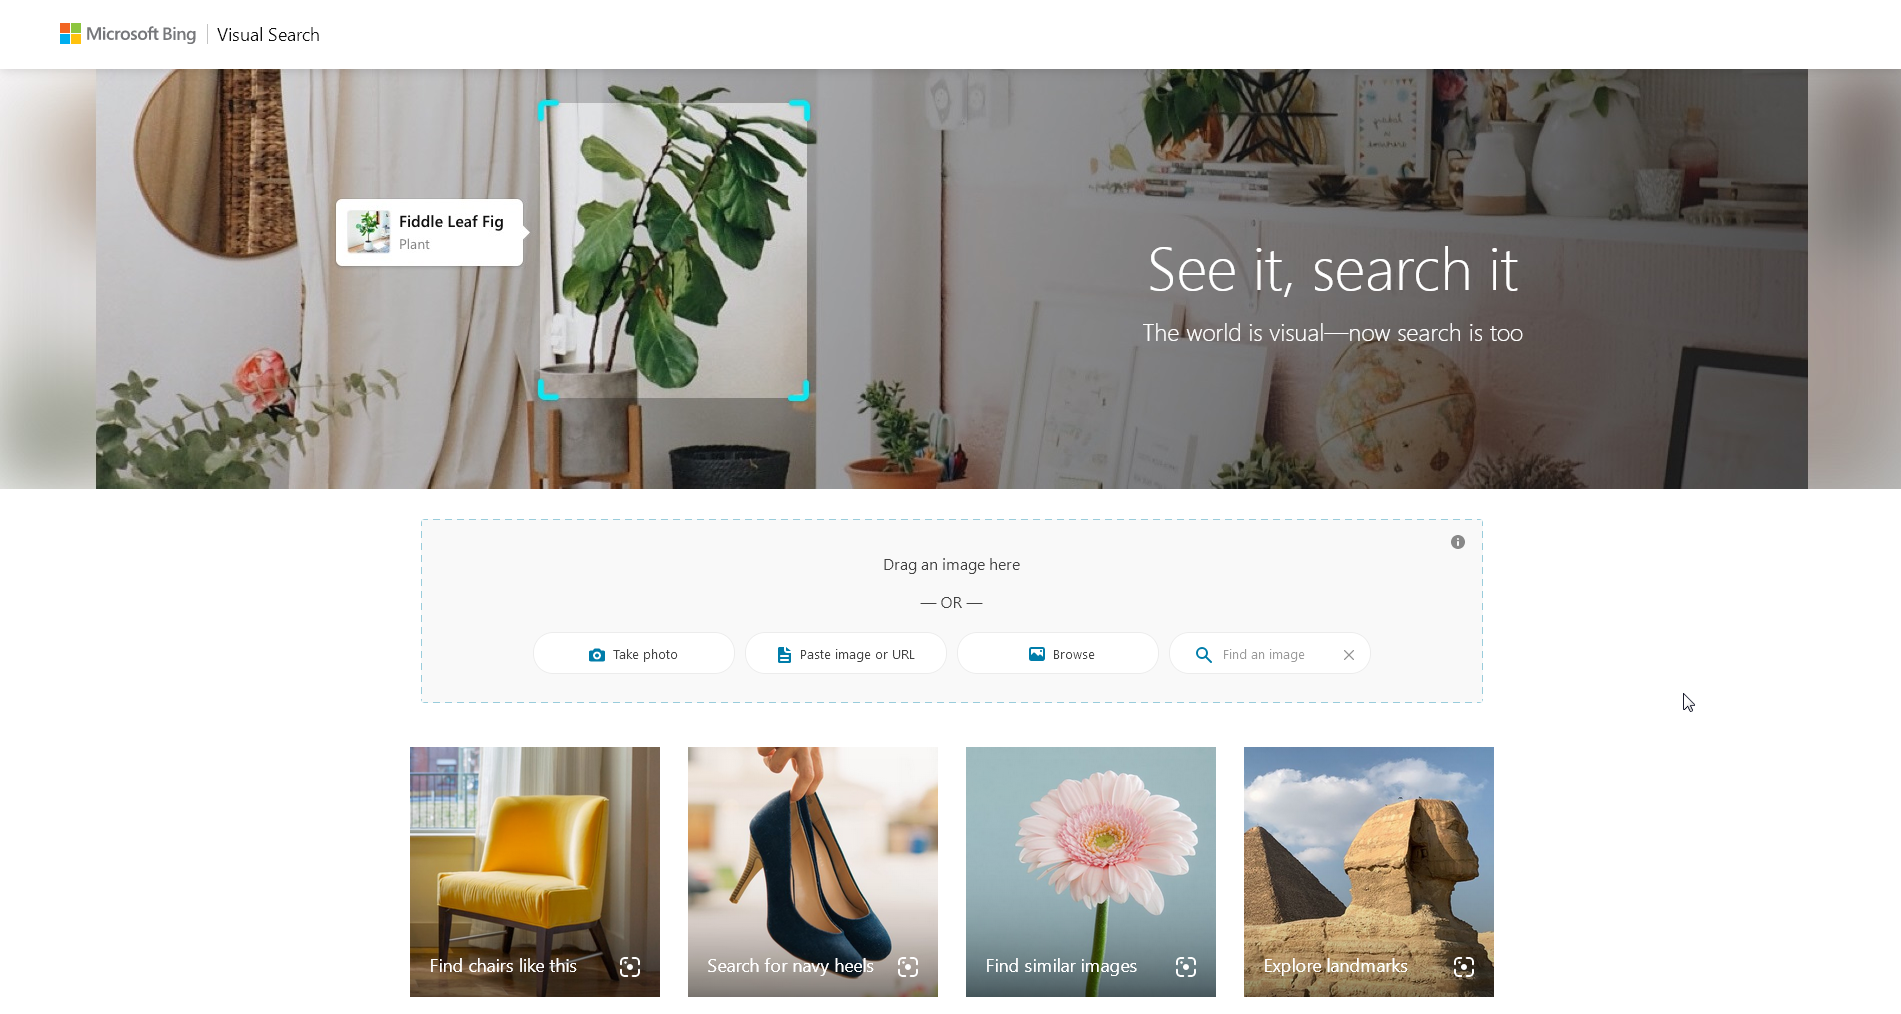
Bing Image Search
Bing Image Search is a powerful image discovery platform that uses AI-driven object recognition and visual search. In addition to standard keyword searches, users can upload an image or provide an image URL to find visually similar photos across the web. Moreover, Bing offers a dedicated Visual Search tool that highlights objects within an image, enabling more precise searches and easier identification of related visuals.
How to Search by Keywords
- First, visit Bing Images.
- Next, enter descriptive keywords for the image you want to find in the search bar.
- Then, press Enter to view the results. Bing will display a variety of image thumbnails matching your keywords.
- After that, click the Filter button to refine your search by:
- Size: Small, Medium, Large, Wallpaper, or Original size.
- Color: Black & white, transparent, or specific colors.
- Type: Photo, Clipart, Line drawing, Animated GIF.
- Layout: Square, Wide, Tall, or All.
How to Use Visual Search
- First, click the Visual Search camera icon located in the search bar.
- Next, choose whether to upload an image or paste an image URL.
- Then, Bing will process the image and highlight objects within it.
- After that, click any highlighted object to view visually similar images, related products, or relevant web pages.
- Finally, explore the results to find high-resolution images, online sources, and additional information about each object.
Bing Visual Image Search
Practical Examples
- Shopping: For example, upload a photo of a chair you like, and Visual Search will show similar furniture items and online stores selling them.
- Landmarks and Travel: Similarly, snap or upload an image of a building to learn its history, location, and other photos from the same site.
- Product Research: Capture an image of a gadget to compare prices and check reviews from multiple online retailers.
- Art and Design: Upload a painting or design pattern to discover the artist, find similar artworks, and gather creative inspiration.
Tips for Accurate Results
- First, use clear, high-quality images to improve recognition accuracy.
- Next, focus on the main object using the crop tool to get better matches.
- Moreover, combine keyword and image-based searches for broader results.
- Finally, explore the Visual Search highlights carefully, as Bing can detect multiple objects within a single image.
TinEye
TinEye is a specialized reverse image search engine that focuses on tracking where an image appears online. Unlike general search engines, TinEye analyzes the image itself rather than relying solely on keywords or metadata. As a result, it is ideal for copyright enforcement, verifying image authenticity, and finding higher-resolution versions of a photo.
How to Use TinEye
- First, visit TinEye.com.
- Next, choose your method of input:
- Upload an image: Click the upload button and select an image from your computer.
- Paste an image URL: Copy the URL of an online image and paste it into the search bar.
- Then, click the search button. TinEye will scan its extensive database to locate instances of the image across the web.
- After that, review the results. TinEye provides:
- Web pages where the image appears.
- Higher-resolution versions if available.
- Date information to see when the image first appeared online.
- Finally, explore the filters to sort results by newest, oldest, biggest image, or best match, depending on your goals.
Practical Examples
- Copyright Verification: For example, upload your artwork to check if it has been used elsewhere without permission.
- Finding Original Sources: Similarly, use TinEye to trace the origin of a meme, photograph, or stock image.
- Higher Resolution Images: If you find a small image online, TinEye can help locate larger versions suitable for printing or presentation.
- Detecting Modified Images: TinEye can often identify cropped, edited, or color-adjusted copies of your original image.
Tips for Accurate Results
- First, ensure your uploaded image is clear and complete to maximize detection accuracy.
- Next, consider combining TinEye with Google Images or Bing Visual Search for a broader perspective.
- Moreover, check multiple filters, such as sorting by newest or biggest image, to find the most relevant results.
- Finally, use TinEye regularly if monitoring copyrighted material to maintain up-to-date awareness of image usage.
Pinterest Visual Search
Pinterest Visual Search allows users to discover pins that are visually similar to a selected image. In addition to searching by keywords, this feature lets designers, decorators, and anyone seeking creative inspiration explore ideas directly from an example image. Moreover, Pinterest Visual Search leverages AI to identify colors, patterns, shapes, and objects, ensuring highly relevant recommendations.
How to Use Pinterest Visual Search
- First, open Pinterest on your browser or mobile app and log in to your account.
- Next, select a pin or upload an image you want to search visually.
- Then, click the magnifying glass icon or the Visual Search button on the pin image.
- After that, Pinterest will highlight the main object or area of the image. You can adjust the selection by cropping to focus on a specific portion.
- Finally, browse the results, which will show visually similar pins, related boards, and suggested ideas tailored to your selection.
Practical Examples
- Interior Design: For example, select a photo of a living room sofa, and Pinterest will display similar furniture styles, color schemes, and room layouts.
- Fashion: Similarly, upload an outfit image to find matching clothing items, accessories, or complete look inspirations.
- Crafts and DIY: Focus on a small craft project to discover tutorials, materials, and variations from other creators.
- Art and Graphics: Pin a design, illustration, or pattern to explore related artworks, typography, and color palettes for inspiration.
Tips for Effective Pinterest Visual Search
- First, ensure the selected image is clear and focused on the object you want to find similar pins for.
- Next, use the crop tool to highlight the specific area for more accurate results.
- Moreover, combine visual search with keyword search to narrow down pins that match both style and content.
- Finally, save relevant pins to boards for easy reference and to build a collection of inspiration ideas.
Yandex Images
Yandex Images provides advanced visual search capabilities that are particularly effective for non-English content. In addition to keyword searches, Yandex allows users to upload an image or paste an image URL to find visually similar results. Moreover, its AI algorithms can recognize objects, faces, patterns, and even locations, making it a versatile tool for both personal and professional image searches.
How to Use Yandex Images
- First, visit Yandex Images in your browser.
- Next, click the camera icon in the search bar to start a visual search.
- Then, choose one of the following input methods:
- Upload an image: Select a file from your computer or device.
- Paste an image URL: Enter the URL of an online image.
- After that, Yandex will process the image and display visually similar results, including images, websites, and related content.
- Finally, explore the results using filters such as size, orientation, or color to refine your search and find exactly what you need.
Practical Examples
- Product Search: For example, upload a photo of a gadget to find similar models, compare prices, and locate online retailers.
- Face Recognition: Similarly, upload a portrait to find other appearances of the same person in public images or social media.
- Art and Design: Search for a design pattern or artwork to discover similar pieces, artist information, or inspiration for creative projects.
- Travel and Landmarks: Take a photo of a monument or building to learn more about its location, history, and related imagery.
Tips for Effective Yandex Image Search
- First, ensure that the uploaded image is clear and focused on the main subject for better AI recognition.
- Next, crop the image if necessary to emphasize the object you want to search for.
- Moreover, combine visual search with descriptive keywords to improve relevance and context.
- Finally, explore all suggested links and related images to discover additional sources and variations of your search subject.
Openverse
Openverse is an open-source image search engine that indexes millions of freely licensed images. In addition to keyword-based searches, users can filter images by license type, file format, or image source, making it a versatile tool for educators, content creators, and marketers. Furthermore, Openverse ensures that the images you find are safe to use, avoiding copyright concerns while providing high-quality visuals.
How to Use Openverse
- First, visit Openverse.org in your browser.
- Next, enter descriptive keywords for the image you are looking for in the search bar.
- Then, browse the results, which include images licensed under Creative Commons or public domain.
- After that, use the filter options to refine your search by:
- License type: Choose between public domain or various Creative Commons licenses.
- Image type: Select photos, illustrations, or vectors.
- Source website: Limit results to specific trusted websites if needed.
- Finally, click on an image to view licensing details and download options, ensuring proper attribution if required.
Practical Examples
- Educational Projects: For instance, teachers can search for public domain images to include in presentations or classroom materials without worrying about copyright violations.
- Content Creation: Bloggers and designers can find high-quality images for articles, social media posts, or marketing materials quickly and legally.
- Marketing Campaigns: Marketers can gather visuals for ads, campaigns, or brand materials while adhering to copyright compliance.
- Creative Inspiration: Artists and illustrators can explore freely licensed images to generate ideas, combine elements, or create derivative works.
Tips for Effective Openverse Search
- First, use precise and descriptive keywords to find the most relevant images quickly.
- Next, apply filters for license type, image type, or source to narrow down results efficiently.
- Moreover, always double-check attribution requirements if you plan to use images commercially or publicly.
- Finally, combine Openverse searches with other image search engines like Google Images or VSDIF for a comprehensive approach to finding and organizing visuals.
Flickr
Flickr is a popular image-sharing platform that hosts a vast community of photographers, artists, and enthusiasts. In addition to keyword searches, users can explore images using tags, descriptions, or metadata, making it easier to discover content that fits specific themes or styles. Furthermore, Flickr provides advanced filtering options, allowing you to sort images by license type, date uploaded, popularity, or camera type, which is ideal for both casual browsing and professional research.
How to Use Flickr Search
- First, visit Flickr.com and log in if you have an account.
- Next, enter keywords or phrases related to the image you are looking for in the search bar.
- Then, browse the results, paying attention to tags, descriptions, and user profiles to find relevant images.
- After that, use the filter options to refine your search by:
- License type: Choose images with Creative Commons or public domain licenses.
- Content type: Select photos, screenshots, illustrations, or videos.
- Date uploaded: Sort by newest or oldest images to track trends or historical content.
- Camera type: Filter by camera model or settings if technical accuracy is important.
- Finally, click on any image to view details, download options, and licensing information.
Practical Examples
- Photography Inspiration: For example, search for landscape photography to find new techniques, color palettes, and composition ideas.
- Research and Documentation: Similarly, explore historical or scientific images using specific tags and metadata to support projects or presentations.
- Content Creation: Bloggers and marketers can find legally usable images for articles, social media, and design projects.
- Networking: Engage with other photographers, comment on work, or join groups to share knowledge and discover hidden gems.
Tips for Effective Flickr Search
- First, use multiple relevant keywords to maximize search accuracy.
- Next, check the licensing information carefully if you plan to reuse images.
- Moreover, combine tag searches with metadata filters to find images that match technical or thematic requirements.
- Finally, follow photographers and explore their galleries for continuous inspiration and a curated feed of high-quality images.
Yahoo Image Search
Yahoo Image Search offers a straightforward yet effective platform to explore images across the web. In addition to basic keyword searches, users can refine results using filters for size, color, and image type, allowing faster discovery of relevant visuals. Moreover, Yahoo’s search interface emphasizes speed and simplicity, making it an accessible option for casual users who need quick results without advanced features.
How to Use Yahoo Image Search
- First, navigate to Yahoo Image Search in your browser.
- Next, type in descriptive keywords related to the image you want to find and press Enter.
- Then, browse through the displayed images, paying attention to thumbnails and captions for relevant matches.
- After that, use the filter options to refine your search by:
- Size: Small, Medium, Large, or Original.
- Color: Black & white, transparent, or a specific color palette.
- Type: Photo, Clipart, Animated GIF, or Face.
- Finally, click any image to open it in full resolution, visit the source page, or download it, if permitted.
Practical Examples
- Quick Reference: For instance, search for a diagram or chart for an article or presentation and immediately find relevant images without complex searches.
- Casual Browsing: Browse through images of a favorite hobby or interest using simple keywords and filters to find inspiration or ideas.
- Creative Projects: Quickly locate backgrounds, textures, or icons for small-scale design projects.
- Personal Research: Use Yahoo Image Search to compare images across sources or verify visual content.
Tips for Effective Yahoo Image Search
- First, combine specific keywords with the filters to narrow down results efficiently.
- Next, preview images carefully to ensure quality and relevance before downloading or using them.
- Moreover, use multiple searches with varied keywords to cover a broader range of results.
- Finally, cross-check the source websites to confirm licensing and usage rights if you plan to reuse images commercially or publicly.
Lenso.ai
Lenso.ai is an AI-powered image search platform designed for celebrity and brand recognition. In addition to identifying faces and logos, it allows users to track where these images appear online, providing valuable insights for marketing, PR, and content monitoring. Furthermore, its AI algorithms can detect subtle visual cues, making it more accurate than traditional keyword-based searches.
How to Use Lenso.ai
- First, visit Lenso.ai in your browser.
- Next, upload an image containing a person, logo, or brand element you want to track.
- Then, wait as the AI analyzes the image and searches for similar appearances across the web.
- After that, review the results, which will show instances of the detected face or logo on websites, social media, or news articles.
- Finally, export or save the data for reporting, monitoring, or further research.
Practical Examples
- Celebrity Monitoring: For example, upload a photo of a public figure to see where it has been shared online, including news and social media platforms.
- Brand Protection: Similarly, a company can upload its logo to detect unauthorized use or appearances in marketing campaigns.
- Marketing Research: Track how often and where a brand ambassador or celebrity partnership is featured across different channels.
- Event Analysis: Detect how images from an event circulate online, helping PR teams measure reach and engagement.
Tips for Effective Lenso.ai Search
- First, choose high-quality images with clear faces or logos to improve detection accuracy.
- Next, use multiple images of the same person or logo to enhance search coverage.
- Moreover, combine Lenso.ai results with other tools like Google Images or TinEye for a comprehensive view of online appearances.
- Finally, regularly monitor results for updates, as new images may appear over time.
ReverseImageSearch.org
ReverseImageSearch.org is a free online tool designed to track where an image appears across the web and discover visually similar images. Unlike conventional keyword searches, this platform focuses on analyzing visual content, making it ideal for verifying image sources or finding related visuals. Additionally, it provides a quick and user-friendly interface suitable for both casual users and professionals.
How to Use ReverseImageSearch.org
- First, open ReverseImageSearch.org in your browser.
- Next, either upload the image you want to search or paste its URL into the search field.
- Then, click the search button and allow the tool to process the image.
- After that, browse the results to see where the image appears online and explore visually similar images from other sources.
- Finally, click on any of the listed sources to access the original website or image page for verification or further research.
Practical Examples
- Source Verification: For instance, verify if a photo circulating on social media is original or reposted from another site.
- Finding Similar Visuals: Discover related images for design projects, presentations, or marketing materials by uploading a reference image.
- Protecting Your Work: Artists and photographers can track where their images have been used online to detect unauthorized use.
- Research Projects: Locate high-resolution or alternative versions of an image for academic, journalistic, or creative work.
Tips for Effective ReverseImageSearch.org Use
- First, ensure the image is clear and focused on the main subject to maximize search accuracy.
- Next, try multiple images or different resolutions for better coverage of online sources.
- Moreover, combine results with other reverse image search engines, such as TinEye or Google Images, to cross-check findings.
- Finally, regularly recheck results over time, as new online appearances of your image may emerge.
Organizing Photos for Efficient Image Search
Maintaining an organized photo library is essential for fast and accurate image search. Best practices include:
- Consistent file naming with descriptive keywords.
- Logical folder structures based on year, event, or category.
- Metadata tagging (EXIF, IPTC) for better searchability.
- Regular duplicate scans using VSDIF.
- Regular backups to prevent data loss.
Advanced Image Search Techniques
Leverage AI-powered object recognition, facial recognition, and tagging systems for local image search. Combining metadata with visual similarity analysis allows searches across multiple drives or cloud storage. Integration with professional workflows is common among photographers, media agencies, and corporations.
Combining Online and Local Image Search
For maximum efficiency:
- Use online tools to verify sources and copyright.
- Use VSDIF for accurate local duplicate detection and organization.
- Leverage AI-based tagging and recognition for large libraries.
- Sync local libraries with cloud storage for remote access.
- Maintain consistent metadata and folder structures.
Professional Uses of Photo Search
Photographers
Professional photographers often manage hundreds of thousands of images, which can make organizing and retrieving files a daunting task. By using Visual Similarity Duplicate Image Finder (VSDIF), duplicates are efficiently detected and removed, freeing up valuable storage space and streamlining backup processes. Moreover, when combined with online tools like Google Images, photographers can track where their work appears across the web, helping protect their copyrights and monitor portfolio exposure.
Corporations
Marketing teams and corporate content managers increasingly rely on image search to monitor brand usage and ensure compliance with licensing agreements. By integrating AI-driven online search with local VSDIF scanning, companies can achieve real-time content management, quickly detecting unauthorized use and maintaining a consistent brand presence across multiple platforms.
Content Creators
Bloggers, designers, and other content creators benefit from reverse image search to verify sources, find high-quality assets, and detect copied or reused content. In addition, efficient local search with VSDIF helps maintain a well-organized library, ensuring that creative projects run smoothly and that resources are easy to locate whenever needed.
Tips for Efficient Image Search Workflows
- Regularly run duplicate scans with VSDIF to maintain a clutter-free collection and prevent wasted storage.
- Use consistent naming conventions for files, which simplifies keyword-based searches and speeds up retrieval.
- Tag images with multiple relevant keywords, making it easier to locate images by category, subject, or project.
- Leverage cloud synchronization for remote access, collaboration, and reliable backups.
- Document workflow processes for teams, ensuring consistent management practices and reducing confusion when multiple users handle the same image library.
Conclusion
Comprehensive image search combines both online and local strategies to achieve optimal results. Online search engines like Google Images, Bing, TinEye, Pinterest Lens, Openverse, and Yandex enable users to discover images and track usage across the internet. Meanwhile, Visual Similarity Duplicate Image Finder offers unmatched accuracy, speed, and professional features for managing and organizing large local image archives.
By implementing these tools along with structured workflows, users can maintain an efficient, searchable, and well-organized image library. With proper organization, professional software, and reliable online resources, image management becomes more effective, helping individuals, creatives, and corporations achieve their goals while saving time and ensuring accuracy.