Please follow this short tutorial to learn the basics of the tool.
You can find detailed information about every feature in the application by pressing F1 on your keyboard. The context-sensitive help will display the help section for the window that is currently displayed.
Do not forget to check also the blog area as it contains a lot of information, tutorials and examples and provides a search option for easier navigation: www.mindgems.com/article/
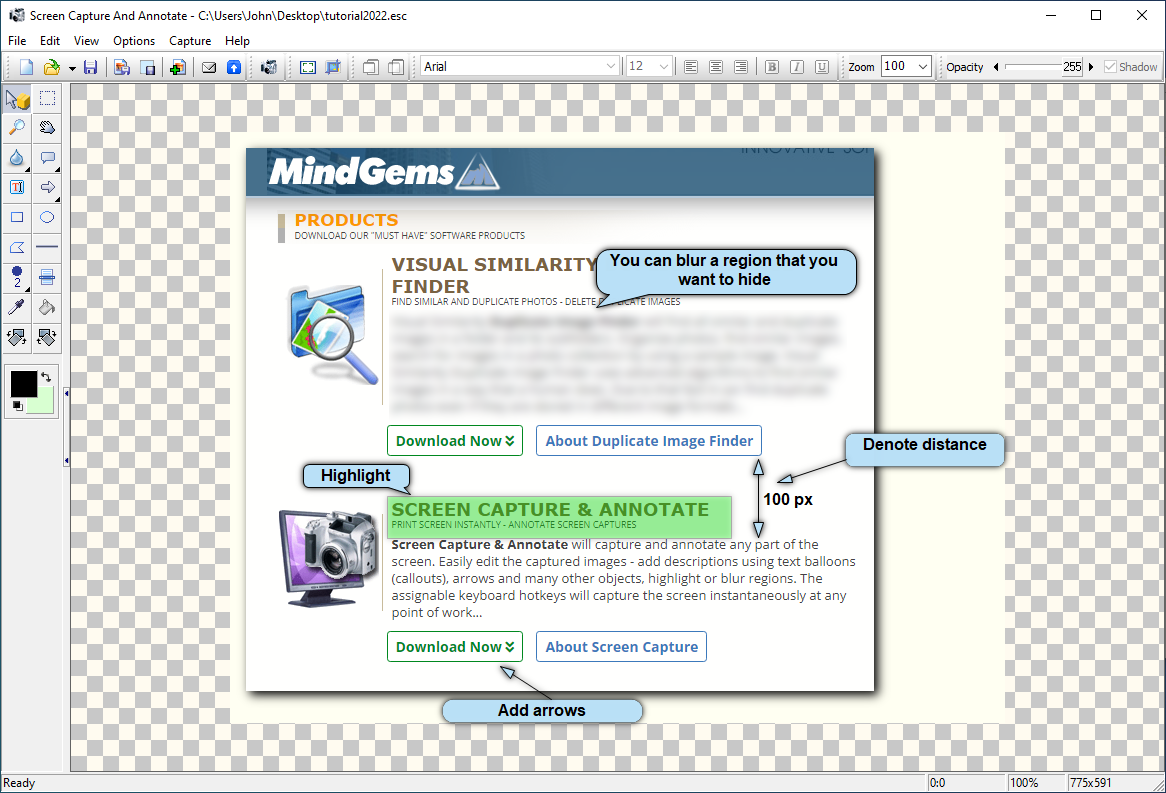
After the application is installed and started the main window will be displayed:

There are multiple capture options, but the default is Capture Rectangle (CTRL+F11). This mode can be used to draw a rectangle around the desired region and the content of the rectangle will be added to the current capture project.
1. Either press CTRL+F11 or click the tray icon with the left mouse button to activate this capture mode.
2. Click at the top-left corner of the area that you want to capture using the left mouse. While holding down the button expand the rectangle by dragging the mouse to the bottom-right corner of the area that should be captured.
3. Release the mouse button and the captured region will be pasted inside Screen Capture And Annotate
4. Add annotations or edit the captured image if necessary
5. Use the tool button named "Resize canvas to fit all objects". This will remove the excess are and shrink or expand the canvas so that it contains all layers or objects.
6. At this point you can save the file as project if it will be edited or used in the future or just export it in next step.
7. In order to save the capture in universal format use the "Save picture as..." option. Select a file type and file name and location. We recommend using the PNG file format as it has high quality and supports transparency.
8. If not annotations are added, the captured "Layer" can also be saved by right-clicking it with the mouse button and selecting Layer->Save As... from the popup menu.
There are plenty of capture options that can be found in the "Capture" menu along with their keyboard shortcuts. While clicking the tray icon will perform the capture operation that is selected in the "Capture" menu, in most cases it is easier and more convenient to use the keyboard shortcuts.
The capture mode for the tray icon switches automatically to the last capture mode that is used via the keyboard shortcuts. The mode can be switched manually by using the "Capture" menu and selecting the desired mode. The active mode is displayed with a TICK-MARK in front of its name. The capture mode is also accessible by right-clicking the tray icon.